Easy & Doughy Gluten Free Bagels
Easy & Doughy GLUTEN FREE BAGEL RECIPE
aka gluten free bae-goals | Recipe from Dr. Gundry’s The Plant Paradox Cookbook
Before we get right into it, here’s a tiny bit of back story…
A year ago I was diagnosed with Fibromyalgia after having some of the most painful months/years of my life thinking my body was literally failing me. After literal dozens of doctors visits and appointments with specialists, I finally had my PCP tell me the best words she ever could. It went something like,
“Listen — at this point we can say after ruling out and putting you through all this testing that Fibromyalgia is what is happening to you. The root? We don’t know. But this isn’t a death statement. You are on your odyssey from this point forward with how you want to go from here.”
It took me a while to fully understand what she was saying but she gave me a laundry list of ideas that she’s seen patients succeed with. Two of which were seeing a nutritionist and acupuncture — both of which I committed to.
My nutritionist explained to me the importance of eliminating toxins in every way to help control my pain — household chemicals, skincare, environmental toxins, and most importantly the food we ingested all play a huge role in inflammatory response. She led me to this incredible doctor’s theory of The Plant Paradox. Wow – did it change my life. I HIGHLY recommend you checking out his book for all the other recipes and his theory on the naturally occurring toxin, lectin.
Because of his diet, I now eat a mostly gluten free & lectin free diet and have had my pain decrease SIGNIFICANTLY to a livable & medication free state (on most days). I CAN NOT RECOMMEND IT MORE for anyone who battles inflammation, chronic disease, or just generally wants to be healthier.
If you want to know more about fibro or chat about my journey or yours — I’m all ears any time and would love to talk. Seriously don’t hesitate to shoot me a message.

I actually make these gluten free bagels almost every week for breakfast sandwiches with some prosciutto & an egg. It NEVER gets old. It’s SO easy and you aren’t going to regret the extra time it takes to make something so delicious.
As soon as you smell these starting to bake, you’ll already be thanking me; I promise.

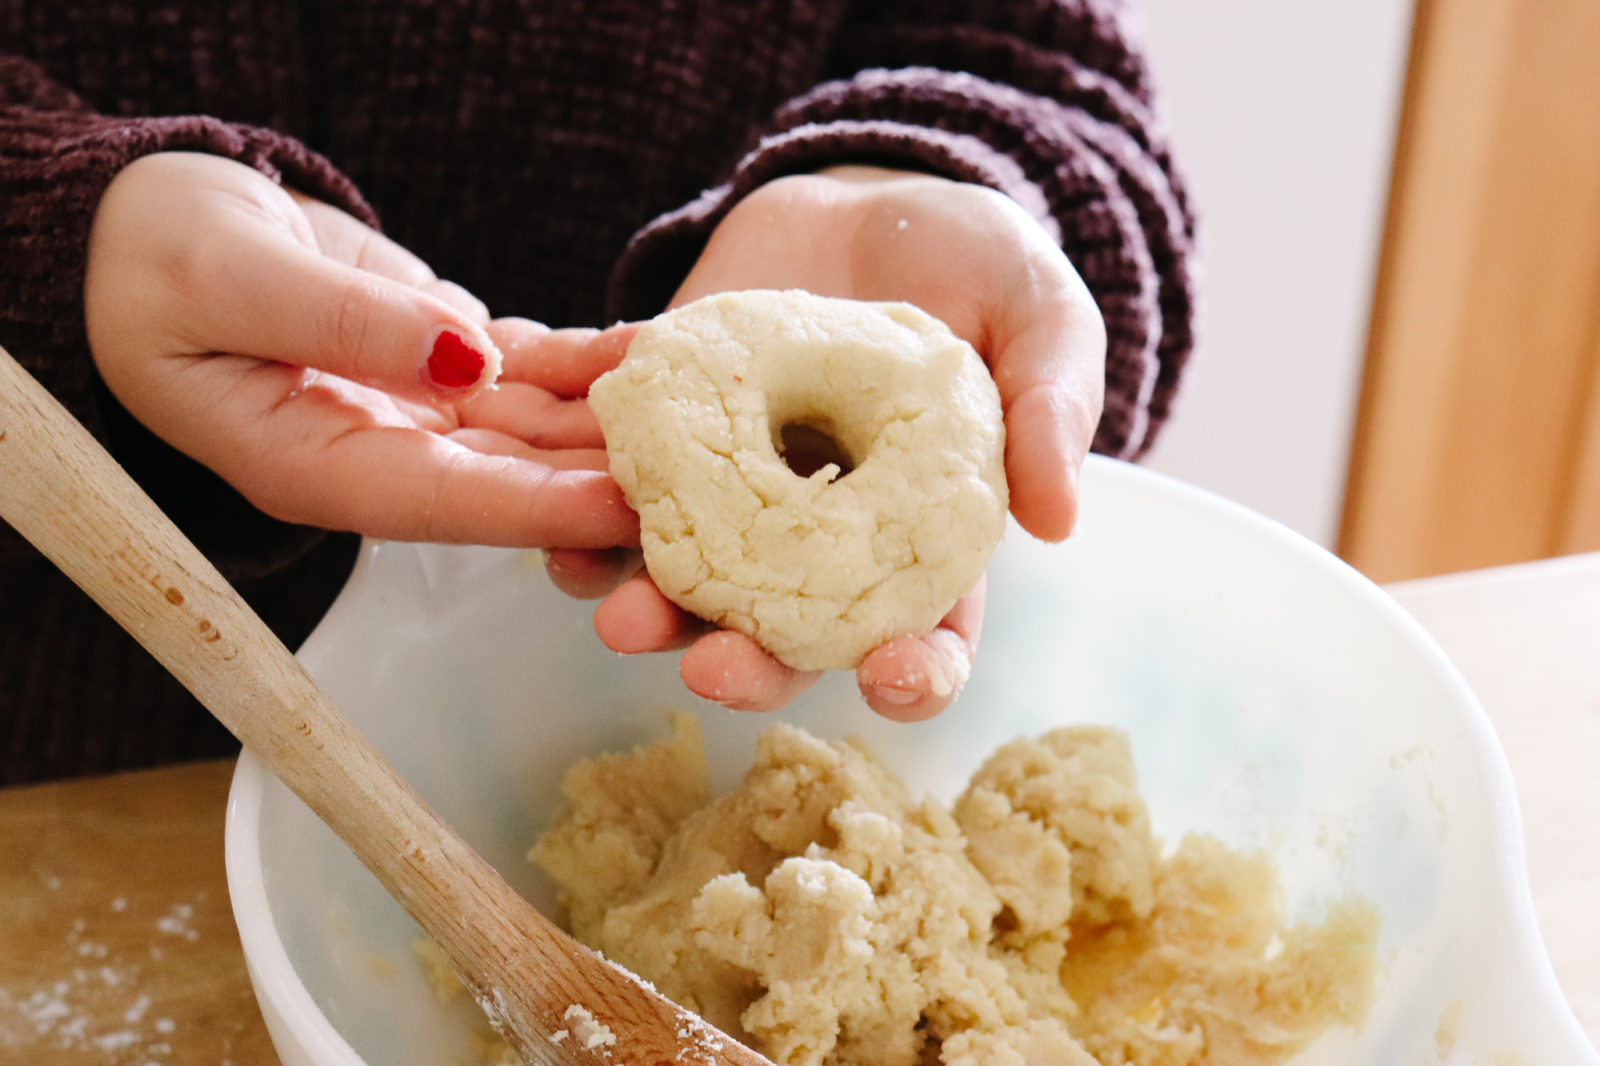
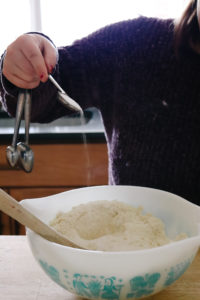
Once the dough is made, you roll it into 8-10 balls for mini-bagels. If you’d like bigger gluten free bagels, I recommend doubling the recipe. In this example, I made a variety of bigger and smaller. They are quite filling so sometimes I like mini best. Whatever you prefer, flatten the balls to your ideal bagel thickness and use your finger to drill a hole in the center. As soon as the water is boiling, it’s dunkin’ time.
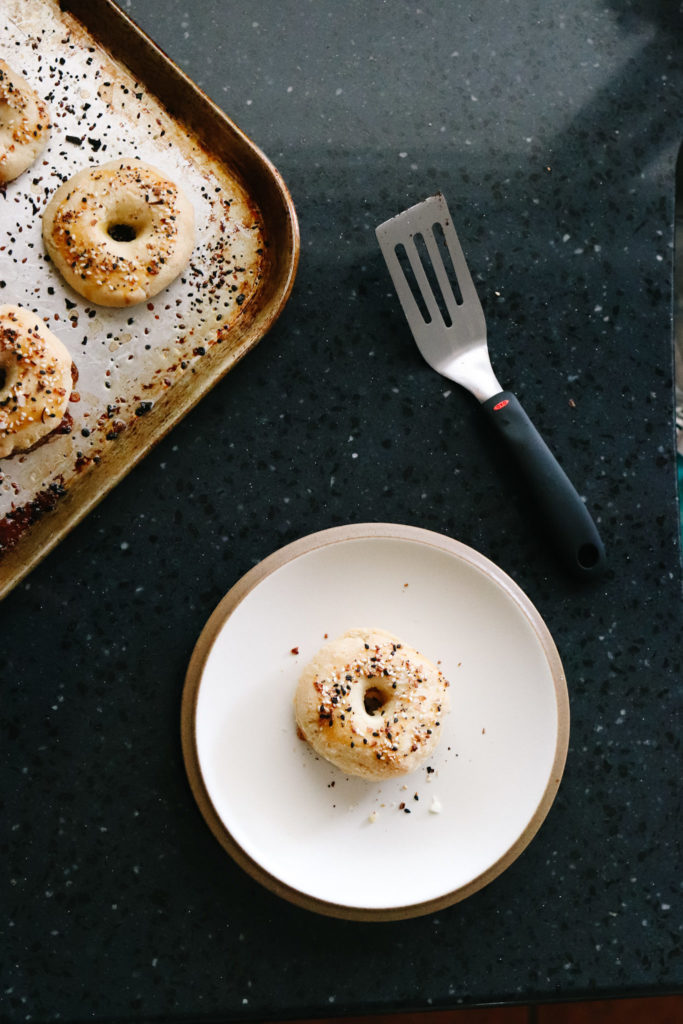
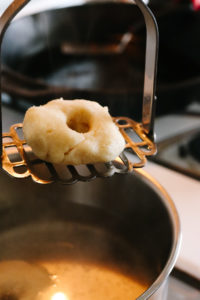
So I use a potato masher to dunk the doughy bagel balls into the boiling water. It just worked for me because I had one in my drawer. But any sport of slotted utensil should do the trick. Once they boil for a minute or so, they will float to the top. That’s when you will pull them out and set them on a parchment paper covered baking sheet. Trust me – parchment paper is a BIG HELP. But if you don’t have any, make sure it is coated in a non-stick oil.
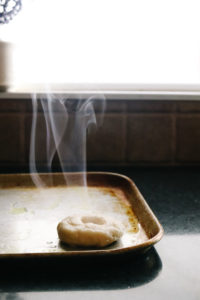
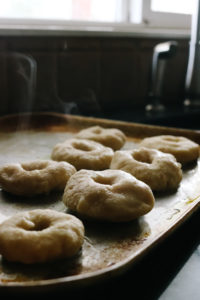
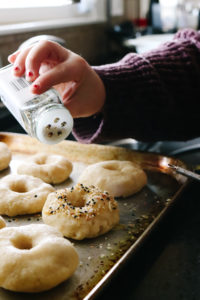
Once the bagels are all boiled and lined up on the tray, they will bake for 10 minutes at 400 degrees. While baking, be sure to mix an egg to prepare to wash & season the bagels when the timers up. This everything but the bagel seasoning from Trader Joe’s is EVERYTHING. I like it on mac & cheese, in my homemade mayo as an aioli, but most of all – on these bagels.


Once you have your egg mixed up and your bagels are out of the oven, it’s time to lather them up.

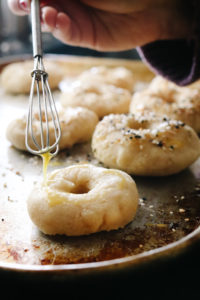
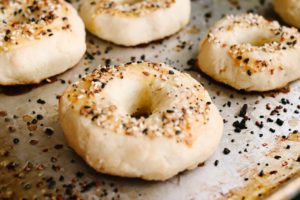
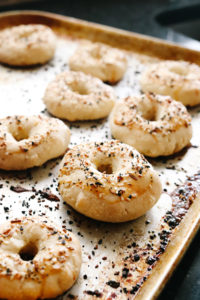
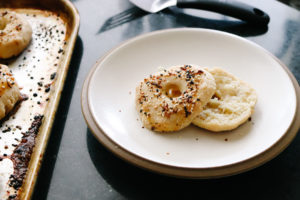
Once all the gluten free bagels are washed in egg & seasoning, they go back in for another 10 minutes at 400, then 10 minutes at 425 to get a nice golden toasted top. When finished, pull them out of the oven. Take a big whiff of their fresh baked bread smell and admire their beauty. Aren’t they absolutely gorgeous? Yeah and they even taste better than they look!
I swear if I have anyone over when baking these, they are demanding to have one by the time they are finished. Gluten free or not, they are delicious to everyone. And they have a nice crunchy crust, but doughy bread-like center. My gluten free friends know that this combo is a rarity and something to treasure. Friends, they are not too good to be true. You’ll see.
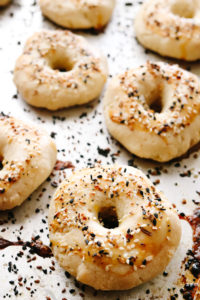
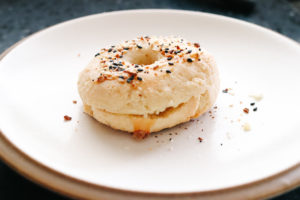
In all their glory, they are finally finished and ready to taste. My favorite way to eat them is in breakfast sandwich form. For me, the ideal combo is with a bit of goat cheese, a fried egg & prosciutto. But of course the traditional American cheese & bacon would not disappoint here. When I’m feeling lazy or in a rush, a quick slab of butter is just fine, too. That’s what I opted for here…I just couldn’t wait!Wha
However you eat your gluten free bagels, be sure to let me know you did! I am excited to hear how you like this recipe and if you’d like me to share more things like this with you.
PLANT PARADOX MINI GLUTEN FREE BAGELS

Dr. Gundry’s recipe for mini-bagels, without the gluten or glycemic load.
Ingredients
- 2 teaspoons iodized sea salt plus 1/4 teaspoon
- 3 cups blanched almond flour
- 1 cup tapioca starch
- 2 teaspoons baking powder
- 2 tablespoons monk-fruit sweetener ground in a spice grinder, or a few drops liquid stevia
- 2 tablespoons white wine or champagne vinegar
- 1 omega-3 or pastured egg or vegan egg replacer
- toppings of choice
Instructions
1. Preheat the oven to 400 degrees F. Place parchment paper on a baking sheet and set aside.
2. Fill a 10-inch pot with about 5 inches of water and add the quarter teaspoon of salt. Slowly bring water to a boil.
4. Before water is at a full boil, remove half a cup and set aside.
7. Flatten each ball with your hand and mold into the shape of a bagel. Use a utensil or your finger to make a small hole in the center of each. Each finished bagel should be about two and a quarter inches in diameter.
8. In groups of 3 or 4, carefully place the bagels in the boiling water.
11. Remove the bagels from the oven and brush each one with the beaten egg, adding your desired toppings before moving onto the next bagel. (This prevents the egg from drying before the toppings adhere.)
Featured Products